


ComicStripFan.Com

You'll Have That - The Creative Process
Want to know the creative process of a webcomic genius? Here it is, in Wes Molebash's own words:
"I try to draw my comics a month in advance, and I try to write about a month and a half to two months in advance. I do all my writing in a regular notebook. Preferably college-ruled. My rough drafts are just that: rough. I don't do very much sketching unless I'm setting up an unusual panel. Maybe something that needs some background work, I might sketch it out really fast with the characters just to get an idea of how to 'attack' that panel when it comes time to draw it.
"When I'm done writing I start drawing. I draw on 11X17 Strathmore Bristol Board. I use Vellum or Smooth surface; whatever's in stock at Hobby Lobby. I prefer Smooth, but I live in a small town and beggars can't be choosers around here. I draw in a 'live' area of 4 3/4 inches by 16 inches. Pretty large for a comic strip. I use cheap Bic pencils with .007 lead, a rubber kneaded eraser, and Faber Castell Artist's Pitt Pens. For the record, I hand-letter everything. I used to hate lettering, but now I rather enjoy it.
"When I've finished drawing the strip, I scan it into my computer. I try to draw so that I have to do as little computer work as possible.
"All I do in the computer is add the gray areas (with Microsoft Paint!), and then I e-mail them to Jim Resnowski at Viper Comics. Jim uses computer magic to post them on the website."
Now, here's a description of Wes' inking process when he creates the strip, in his own words. This was taken directly from his site (with permission, of course! Thanks, Wes!) when it was posted on Friday, March 25, 2005.
"I've
decided to post some pics that detail my inking process. I took these pics
awhile back, so the characters you see in these strips look a bit different than
the ones you are familiar with. I still use the same process, though.
"So here we go . . . I apologize in advance for some of the dimly-lit pictures.
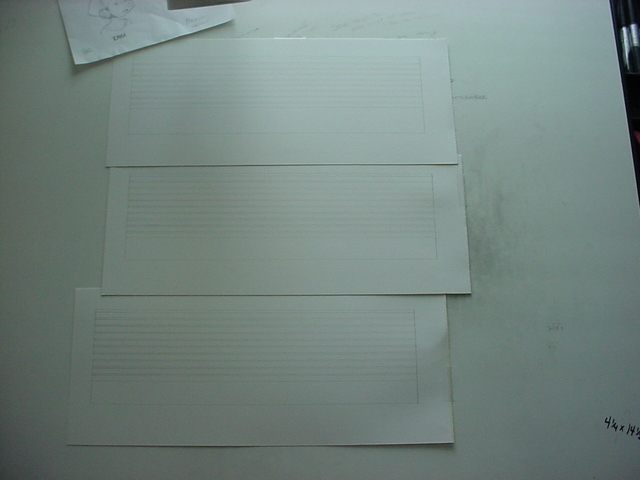
"1. This is just a pic of some prepped Bristol board. Pencilling the comic borders and lettering guidelines are the most tedious part of drawing the strip, so I try to prep a few at a time. You can see some of the notes and strip ideas I have jotted on my drawing board. I tend to forget my ideas pretty quickly, so I jot them down on the side of my desk if something funny strikes me while I'm drawing.
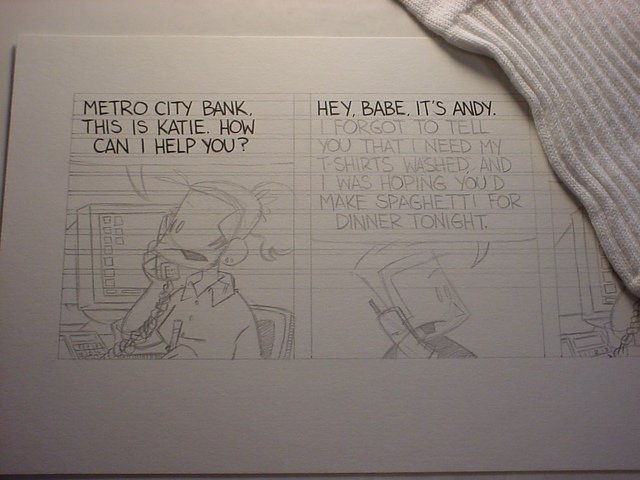
"2. As you can see, I tight pencil everything. I've been drawing comics since I was ten years old, and I still don't trust my inking. Besides that, I like to have a good idea of what the finished strip will look like when I get ready to ink. I ink the letters first with a fine point Faber-Castell Pitt Pen. The sock in the corner of the picture serves a very important purpose. I rest my right hand on it while I'm drawing so I don't smear the pencil lead across the drawing surface. Sometimes your fingerprints and smudges will stain permanently on the board, especially on this vellum surface.
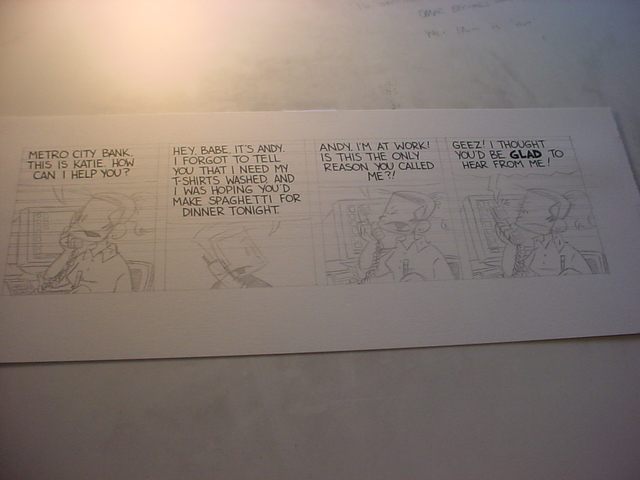
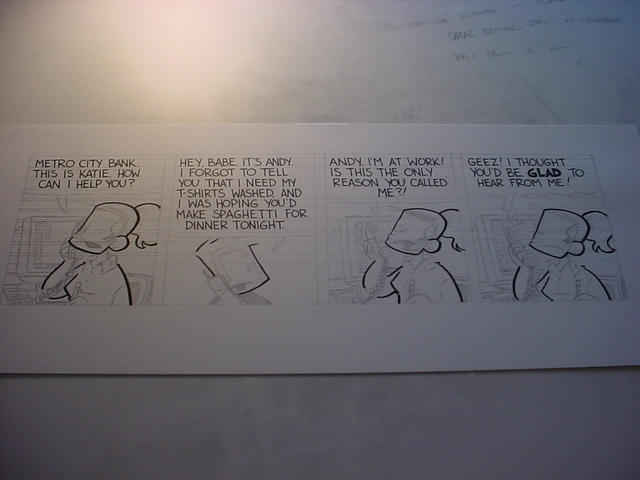
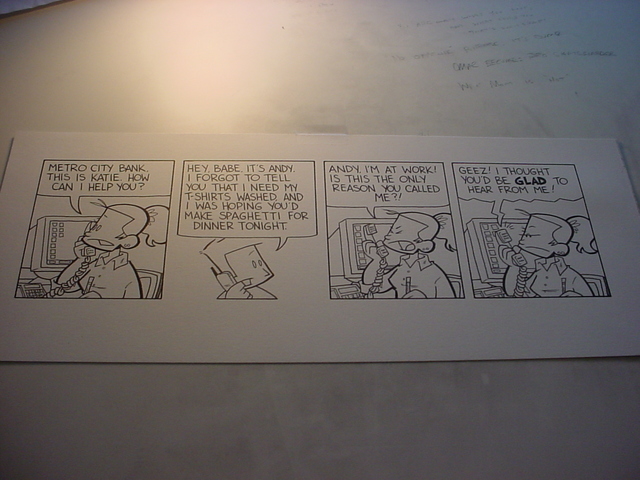
"3. Here's what the strip looks like when all the lettering is inked.
"4.
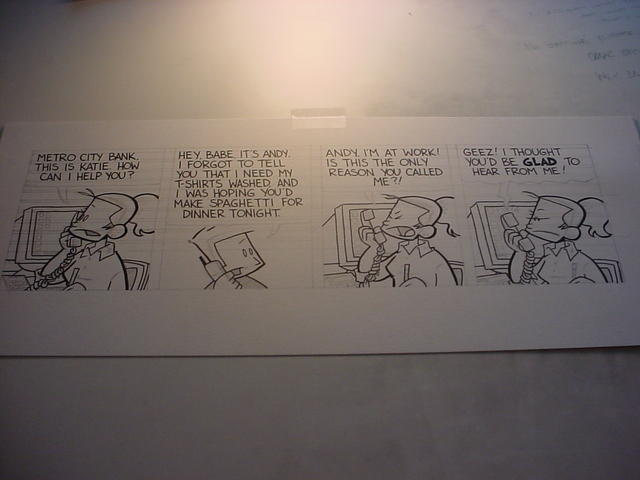
Using the brush tip Pitt Pen, I outline the characters and ink any lines I think
need emphasis. The brush tip is a lot of fun to use, but it can also be the most
frustrating pen because the tips
sometimes wear out really fast. Every once in awhile you get a pen tip that
seems to last forever. When it finally runs out of ink you want to cry . . .
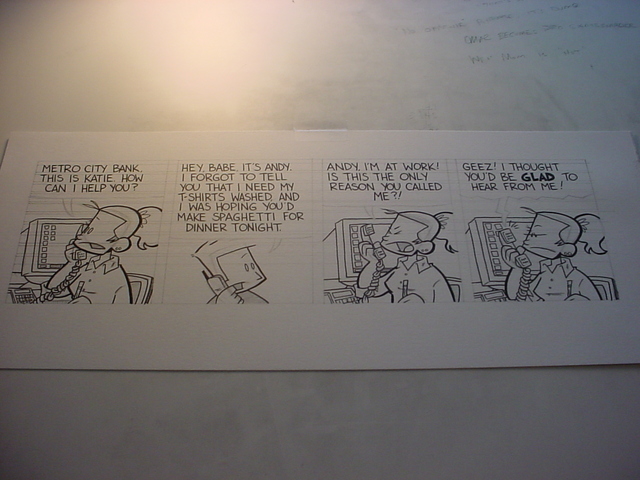
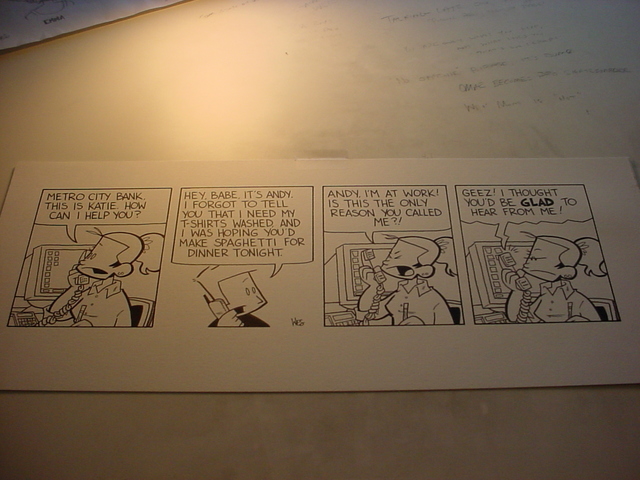
"5. I use the fine tip to fill in most of the "major" lines. Of the four different pens that I use, the fine tip gets the biggest work out.
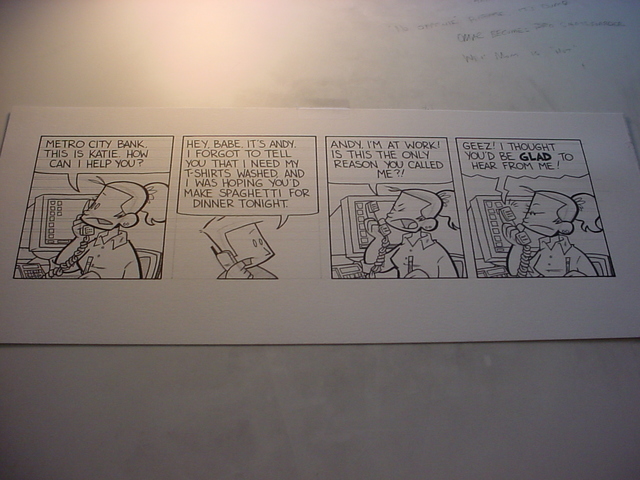
"6. I use the super-fine Pitt Pen to fill in the odds and ends. I like to use little hash marks and stray lines, and the super-fine tip is great for these little "accents". Spontaneity is key in cartooning, and it's very easy to develop short, spontaneous lines with this tip.
"7. I use the medium tip Pitt Pen to ink in the borders, and I use the fine tip to ink in the word balloons. This is probably the most exciting part of inking the strip for me, because at this point the comic is finally starting to look like a "comic". It's kind of neat to see all the pieces of my creation come together in this phase.
"8. Using a rubber kneaded eraser, I erase all the pencil lines leaving just the inked lines.
"9. Once I've erased all the pencil lines, I'll go back and make sure I've got everything inked in. Sometimes there will be small gaps between lines and the panel borders, so I'll fill in or connect these areas with the fine or super-fine tip pen. Finally, I use an old brush tip pen (one that's lost its point) to fill in the black areas, and then I sign my name. I give the comic one more good look-over before I start working on the next strip."
Go back and check out some examples of Wes' art on the You'll Have That gallery page.
Wanna experience the strip for yourself? You'll Have That when you click on the link below!

All art is © by their respective © holders. ComicStripFan.com and entire site © Eric Agena. All Rights Reserved. Unauthorized reproduction, use or publishing in part or in full is prohibited.